
Last updated August 27, 2026
Free visual inspection and a written scope of work before any mitigation begins - photos, moisture readings, and drying logs go in your claim file
The scope we write is the scope we bill. Anything new gets shown to you, in writing, before we touch it.
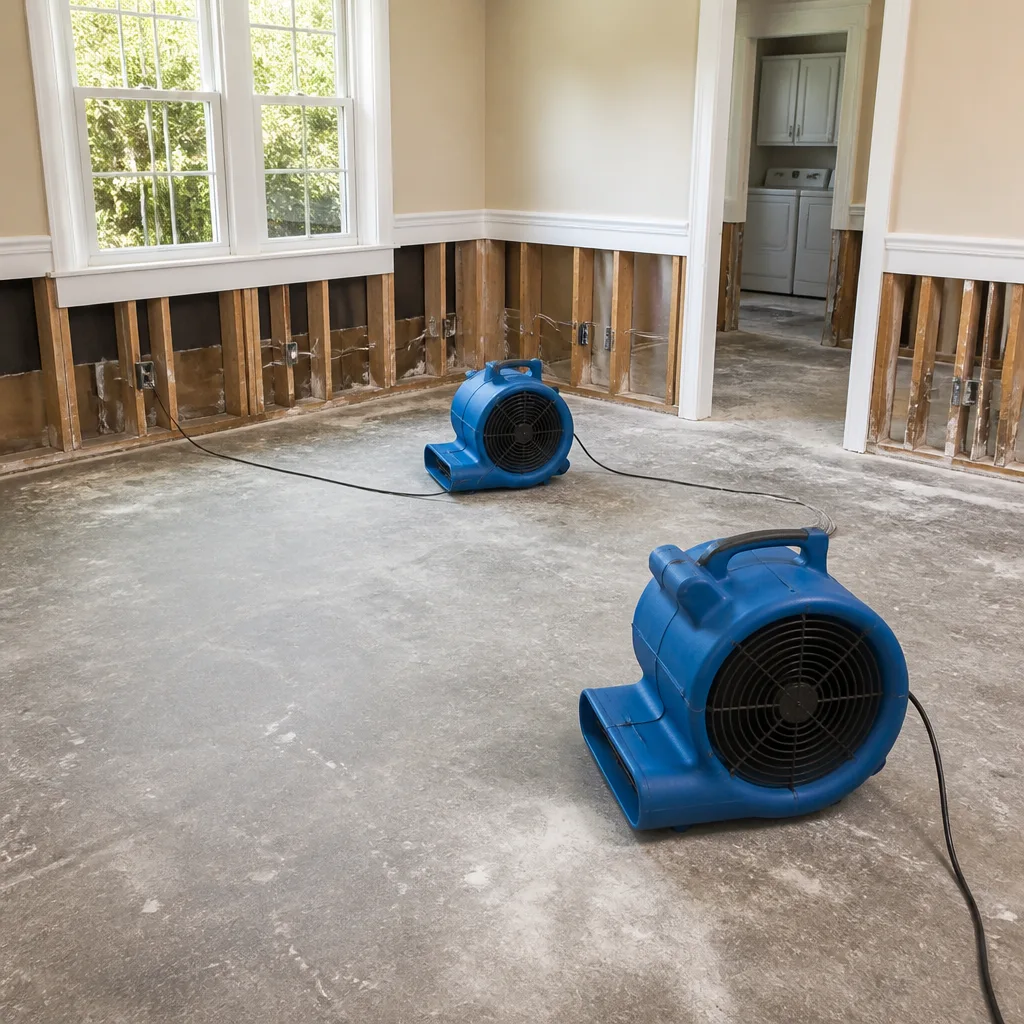

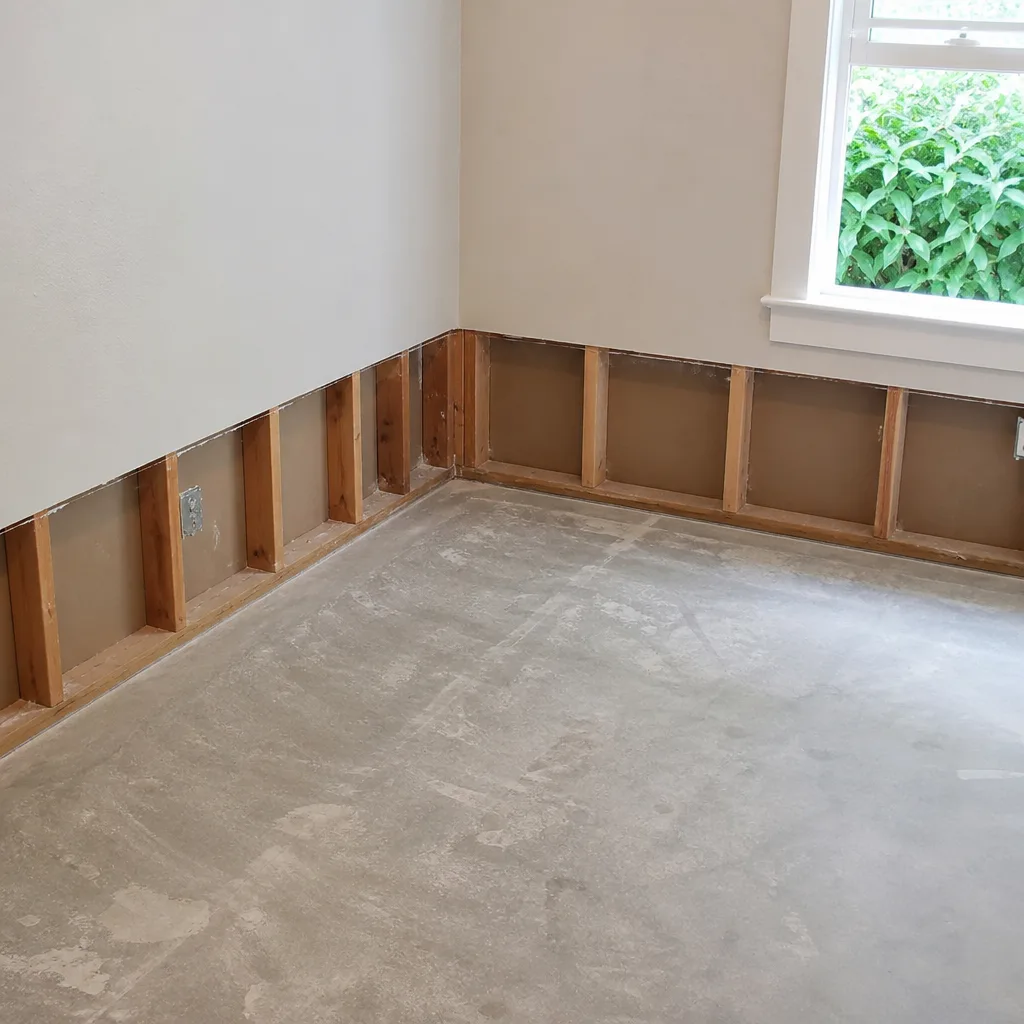

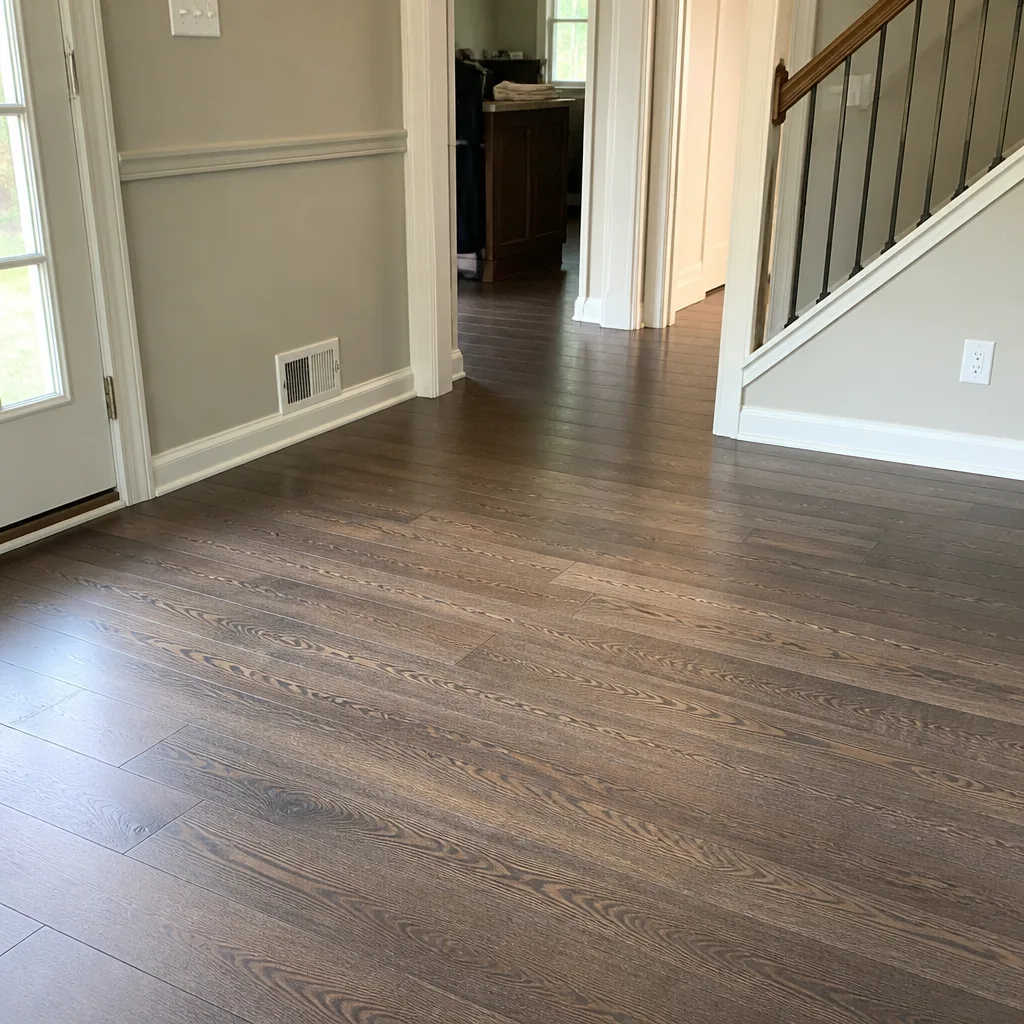

 Before
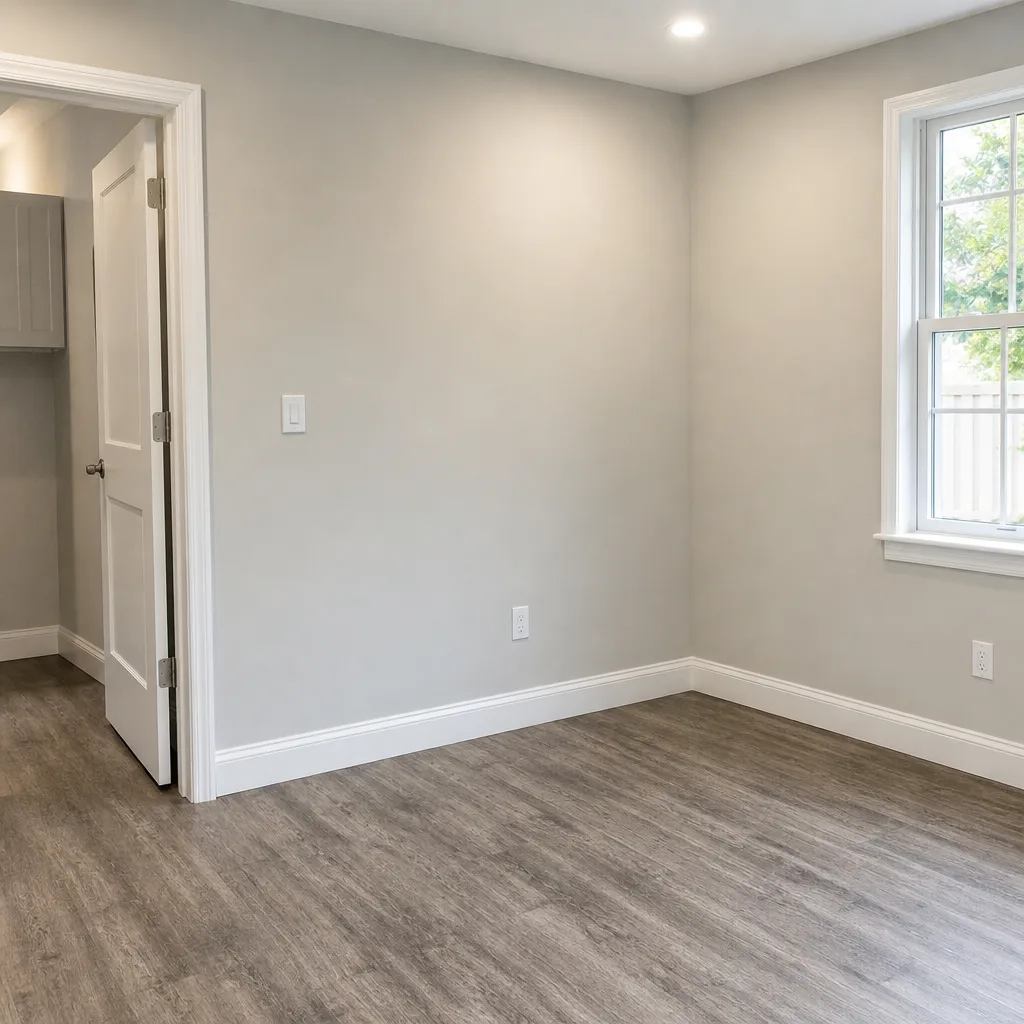 After
After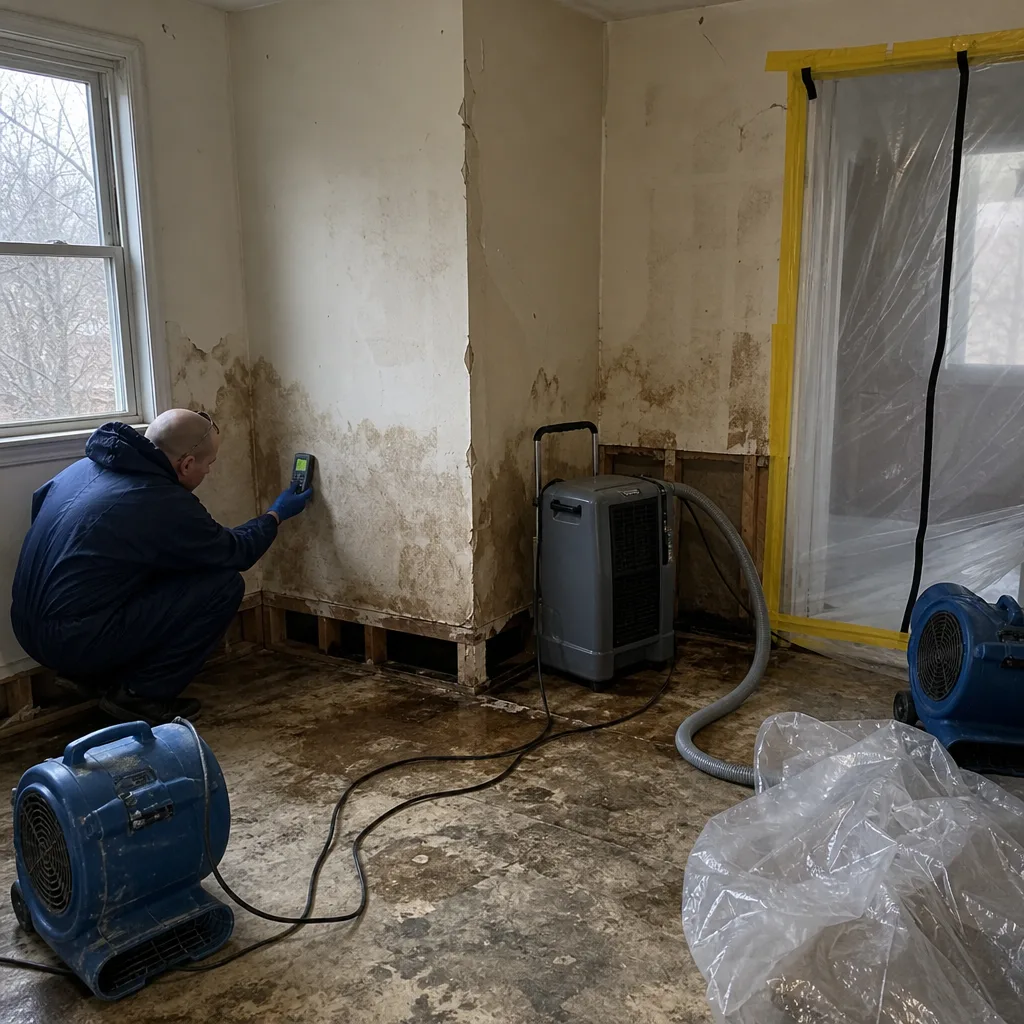 Before
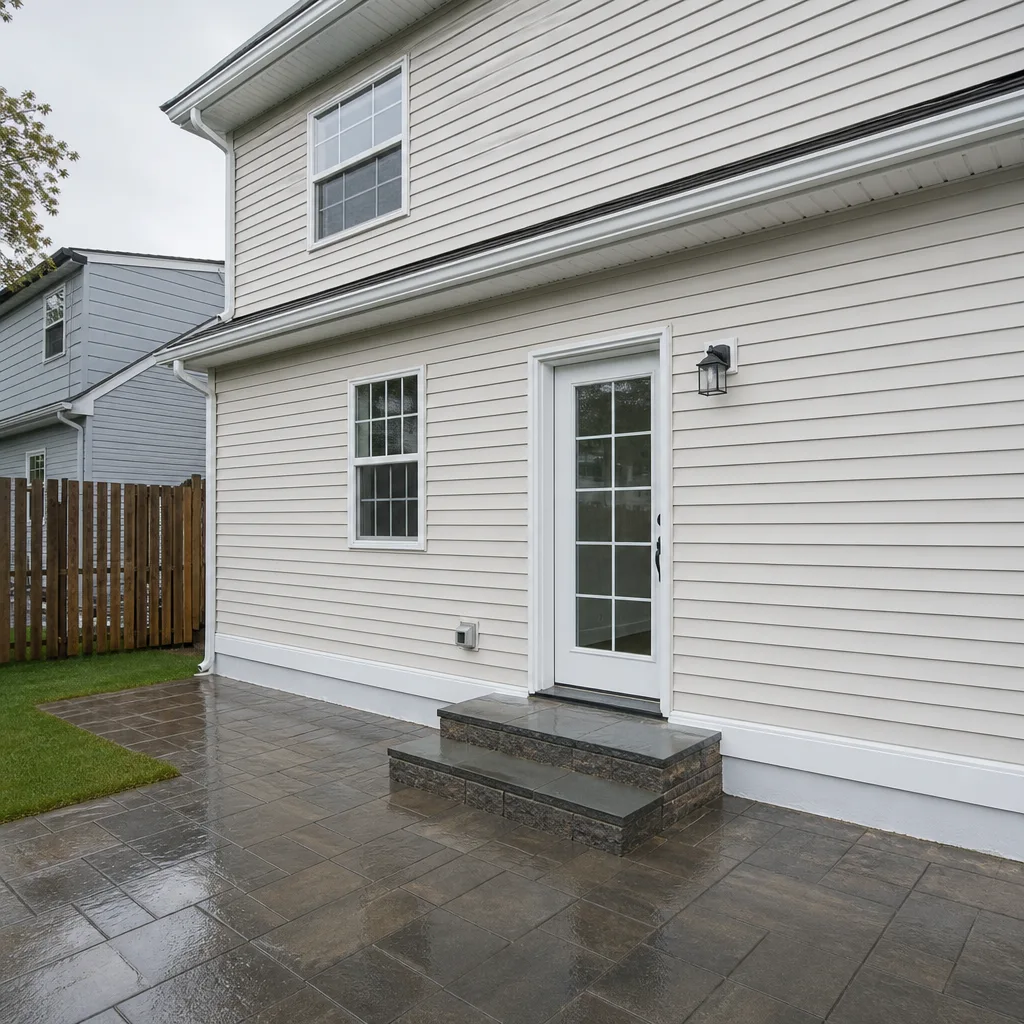 After
After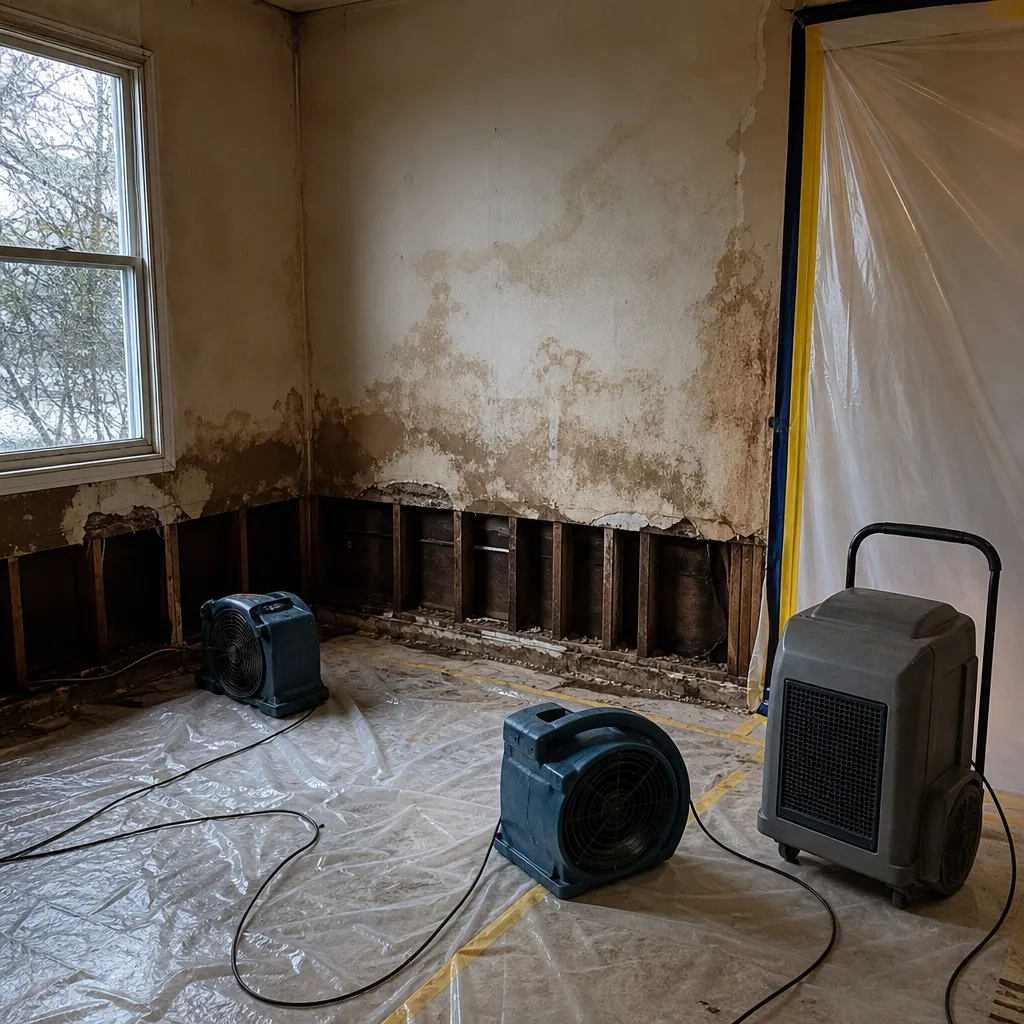 Before
 After
AfterDIY vs Professional Damage Restoration: The Williamsburg Homeowner’s Decision Guide
Here’s a number most Williamsburg homeowners never hear: by the time you can see mold on a baseboard, the colony behind that wall has usually been growing for two to three weeks. The visible spot is just the fruit of a root system running through the drywall. That gap between what you can see and what’s actually there is the entire argument in this guide. We’re going to walk through which restoration tasks a careful homeowner can genuinely handle, which ones require equipment and documentation you can’t rent or fake, and where the line falls for Williamsburg homes specifically. By the end, you’ll be able to look at your own damage scenario and make a decision you can live with six months from now, not just this weekend, and find more guides & resources to keep your home protected.
Quick Answer
DIY damage restoration in Williamsburg is genuinely appropriate for small, clean water spills under about 10 gallons, surface drying, furniture removal, photo documentation, and minor drywall patch after a professional has verified the structure is dry. Everything else is professional territory, because what separates restoration from cleanup isn’t effort, it’s moisture extraction below the surface, drying verification with documented readings, and the paper trail your insurance company and a future buyer can hold someone accountable to. If the water touched drywall, flooring, or a wall cavity, you’re not deciding between DIY and professional anymore-you’re deciding whether you want to own the liability alone or share it with a licensed company. For help with that choice, see our guide on How to Hire a Damage Restoration Contractor in Williamsburg: A Step-by-Step Guide.
Table of Contents
- The Real Question: What You Can’t See
- What’s Genuinely DIY for a Williamsburg Homeowner
- What Requires Professional Equipment (And Why Rentals Fall Short)
- The Insurance Reality in New York: DIY Can Void Your Claim
- The Williamsburg Mold Timeline: 24-48 Hours in Summer
- Scenario by Scenario: Pipe Burst vs. Roof Leak vs. Basement Seepage
- What Professional Moisture Logging Actually Does for You
- The Cost Question: What DIY Actually Saves (And What It Doesn’t)
The Real Question: What You Can’t See
Every Williamsburg homeowner who has ever stood in an inch of water in their basement has had the same thought: I can dry this out myself. Rent some fans, run the dehumidifier, open the windows, throw out the wet boxes, done by Sunday. That instinct is not wrong. It’s just incomplete. Drying visible water is the easy part. The problem is the water you can’t see: inside wall cavities, under vinyl flooring, behind baseboards, in the subfloor, saturating the bottom six inches of drywall where it meets the slab. That water doesn’t dry because the surface feels dry. It dries slowly, or not at all, and it’s doing damage the entire time.
In our experience, restoring a Williamsburg home after water damage is a two-part job. Part one is the physical work: extraction, drying, maybe cutting out wet drywall, sanitizing. Part two is the accountability: proving the work was done right, with readings and records, so that an insurance adjuster signs off, a buyer’s inspector finds nothing, and nobody gets sick. DIY handles part one sometimes. It can’t handle part two, because part two is evidence, and evidence has to be collected with instruments, logged with dates, and signed by someone whose credentials carry weight. That’s the line this guide draws.
What’s Genuinely DIY for a Williamsburg Homeowner
Let’s start with what a knowledgeable homeowner can safely and effectively do themselves. These tasks are genuinely DIY-appropriate, and doing them well will save you money and speed up whatever comes next:
- Move furniture and belongings out of the wet area. This includes elevating furniture on blocks, removing rugs and runners, pulling items out of wet cardboard boxes, and getting electronics up off the floor. Speed matters more than technique here.
- Stop the water source if you can do so safely. Turning off a supply valve to a sink or toilet, shutting off the main water line if you know where it is, or catching an active drip in a bucket. If the source is inside a wall or involves anything electrical, stop and call.
- Surface drying with towels, mops, and wet/dry vacuums. For standing water under roughly 10 gallons, with no visible intrusion into wall cavities or under flooring, a homeowner can extract the bulk of it. The key phrase is clean water from a known source, like a supply line or an overflowing sink.
- Photo and video documentation. This is not just allowed, it’s genuinely important. Photograph everything from multiple angles before you move anything. Your photos are the baseline evidence for an insurance claim, and they cost nothing to take well.
- Removing wet drywall after a professional has verified the scope. If the drywall is saturated, it’s coming out anyway. A homeowner can do the demolition with a utility knife and a pry bar once the affected area has been marked. The professional part is knowing exactly where to stop cutting.
- Running fans and a dehumidifier after the area has been professionally assessed. Surface airflow helps, and it’s cheap. What it won’t do is reach behind a wall or into a subfloor, but as a supplement to professional drying after the main extraction, it contributes.
Notice what all of these have in common: none of them involve certifying that the area is dry. None of them create a record you’d hand to an adjuster or a buyer. None of them put you in a position where you’d be the only person responsible if mold shows up later. They’re the safe edges of the work, and doing them lets you feel useful while the parts that matter get handled by someone with the right instruments.
What Requires Professional Equipment (And Why Rentals Fall Short)
The gap between what homeowners assume rental equipment can do and what professional restoration equipment actually does is the single most expensive misunderstanding in this trade. You can rent a fan. You can rent a dehumidifier. You can’t rent a moisture meter and the training to read one. You can’t rent the experience of knowing that the drywall in a 1950s Williamsburg house with plaster over gypsum lath soaks water differently than modern gypsum board, or that a basement with fieldstone walls will keep wicking moisture for weeks after the floor reads dry.
Here’s what professional restoration brings that DIY cannot replicate:
- Extraction power measured in gallons per minute, not gallons per hour. A truck-mounted extraction unit removes water at a rate that would take a wet/dry vacuum all weekend to match. In a basement with two inches of standing water across 800 square feet, that’s the difference between starting to dry the structure today and starting to dry it on Tuesday.
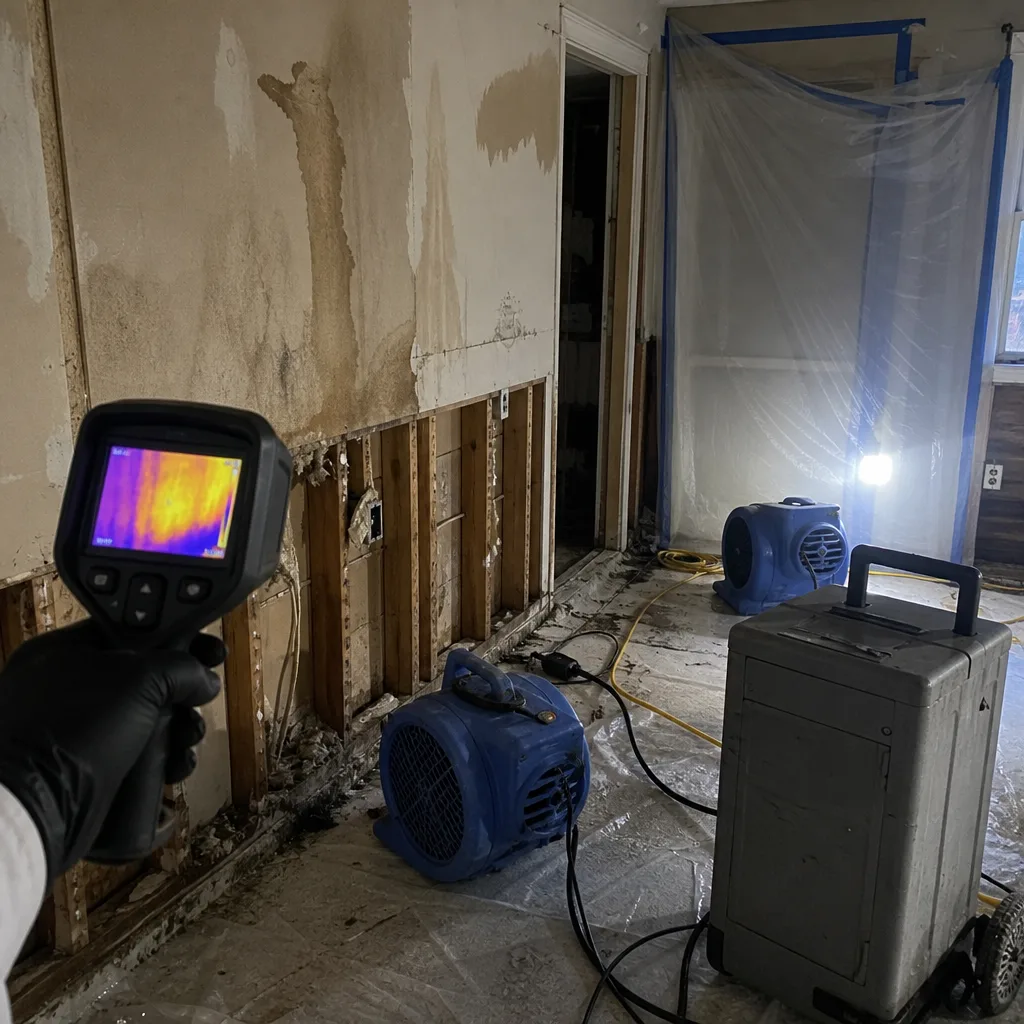
- Moisture meters and infrared cameras that find water behind walls. This is the part you can’t fake. A professional walks the room reading moisture content in drywall, subfloor, framing, and concrete. The meter says what’s wet, how wet, and whether it’s getting drier day over day. Without that data, you’re guessing.
- Professional-grade equipment built for restoration, not humidity control. We use Dri-Eaz, Phoenix, and XPOWER equipment on our jobs because these machines are engineered to pull water out of structures, not just out of the air. A home-store dehumidifier will run for three weeks and pull the humidity down in the room, but it won’t reach the water trapped in a wall cavity or under a laminate floor.
- Injectidry systems for wall cavities and under floors. This is equipment that actively forces dry air into spaces you can’t access. It dries the inside of a wall without opening it. No homeowner renting equipment has access to this, and no guide that skips this detail is telling you the truth about what professional drying actually entails.
- Sanitizing and antimicrobial application. Standing water, especially anything that’s been sitting for more than a few hours, is not clean even when the source was. Professional restoration includes treating affected surfaces with antimicrobial products in a way that’s safe and effective, not a spray-and-hope approach.
The honest way to think about it is this: DIY drying changes the surface conditions. Professional drying changes the structural conditions. Those are two different jobs, and only one of them protects the house.
The Insurance Reality in New York: DIY Can Void Your Claim
Here’s the part most DIY guides conveniently skip: in New York, your homeowners insurance policy almost certainly requires professional mitigation and documentation for a water damage claim to be honored in full. The policy language varies, but the standard expectation is that you will take reasonable steps to mitigate the damage, and that those steps will be documented. If you dry it yourself, discover mold six months later, and then file a claim, your insurer is very likely to deny it on the grounds that the original mitigation was inadequate or undocumented. At that point, there is no appeal that reconstructs the evidence you didn’t collect.
Think about what a professional restoration company provides that a DIY job cannot: dated moisture readings showing the structure was dry before the adjuster ever walked in, an itemized scope of work, photographs of the affected areas before and during, and an invoice that establishes the costs the insurer is responsible for under your policy. That’s the claim file. Without it, you’re arguing from memory and hope.
New York Department of Health standards also matter here, particularly where mold is involved. The DOH has published guidance on mold assessment and remediation, and in several hundred pages of it, the consistent theme is that moisture control must be verified with instruments and documented. A homeowner who dries a basement with fans and declares victory is not just risking a denied claim, they’re potentially creating a condition that a future owner’s attorney will look at very carefully. If you ever sell the house, and the buyer’s inspection finds mold in that wall, and you can’t produce documentation that the water event was professionally mitigated, you own that problem in a very personal way. Water Damage Restoration in Williamsburg done by a licensed professional creates the paper trail that keeps you out of that situation.
The Williamsburg Mold Timeline: 24-48 Hours in Summer
Williamsburg summers are humid. That’s not a complaint, it’s a data point for this decision. When the outdoor relative humidity is sitting at 70% or higher for days, and the indoor air under a wet floor or behind a wet wall is warm and still, mold starts colonizing in 24 to 48 hours. Not visible mold, that comes later. But the spores are landing, the moisture is feeding them, and the colony is establishing itself. That timeline is shorter than most national DIY guides assume, because those guides are written for drier climates. For a local perspective, see our Seasonal Damage Restoration Care for Williamsburg: Year-Round Homeowner’s Guide. In an older Williamsburg house with minimal airflow and heavy plaster walls, the window can be even tighter.
This matters because DIY drying operates on human timeframes. You work all day Saturday, you dry the floor, you’re tired, you’ll check it tomorrow. The mold is not working on human timeframes. It’s working on biological timeframes, and every hour you wait after the 24-hour mark is an hour the problem is getting more expensive. Professional restoration is structured around this: the first response happens within hours, extraction is done the same day, drying equipment is running that night, and readings start the next morning. The speed isn’t about customer service, it’s about physics.
What does this mean practically? If you wake up to a flooded basement in July, by Monday afternoon the mold clock has already been running for two days. And in a Williamsburg house built before 1980, with lath-and-plaster or gypsum board that absorbs water into its core, the moisture isn’t just sitting on a surface where a fan can reach it. It’s inside materials that dry slowly, and every day that moisture persists inside the wall is another day for fungi to work. That’s the real reason the do-it-yourself approach fails more often than it succeeds in this climate: not because homeowners lack effort, but because the biological timetable is faster than the DIY timetable.
Scenario by Scenario: Pipe Burst vs. Roof Leak vs. Basement Seepage
Not all water damage is the same, and Williamsburg building types make certain scenarios more or less DIY-appropriate. Here’s how we break it down when a homeowner calls and describes what happened:
Clean water pipe burst, caught quickly
This is the best-case scenario for DIY. If a supply line to a sink or washing machine let go, you shut off the water within a few minutes, and the water is clean and has not sat, a homeowner can often handle the immediate extraction. The scope depends on volume: a burst supply line can dump 5-10 gallons per minute, so 20 minutes of flooding is 100-200 gallons, and that’s professional territory. But a small leak caught fast, with no cabinet or wall penetration, is genuinely DIY-possible. Dry it, monitor it, and if you have any doubt, get a moisture reading before you close it up.
Roof leak or ice dam
This is professional territory almost every time. Roof leaks travel. Water enters at the roof, runs down a rafter, drips onto a ceiling joist, and pools in places that have nothing to do with where you see the stain. By the time a Williamsburg homeowner sees a brown spot on the ceiling, the water has usually been running through that cavity for days or weeks. The structural drying here requires opening the ceiling, finding the actual moisture path, and verifying with meters that the framing is dry. That’s not a fan-and-dehumidifier job. If you have storm or roof damage, Wade’s Restoration home will give you a straight answer on what the scope actually is.
Basement seepage or groundwater intrusion
This is the scenario where Williamsburg homeowners most often underestimate the problem. Groundwater comes through foundation walls or up through the slab, which means the water keeps coming as long as the soil outside is saturated. A sump pump failure, heavy rain, a clogged exterior drain, any of these can put water in a basement for hours before you notice. The water sitting on a concrete floor is the visible problem. The water that’s wicked into the bottom of the framing, into insulation, and under any finished flooring is the real problem. Concrete dries slowly, and the moisture behind a baseboard can persist for weeks. This is professional work.
Washing machine or water heater overflow
Mixed. If the volume is small, you catch it immediately, and it’s clean water on a tile or concrete floor, DIY extraction plus thorough drying may suffice. If the floor is vinyl or laminate, if the water reached any walls, or if there’s a finished room below, the water has gone somewhere you can’t reach. In those cases, the professional equipment earns its cost on the first day.
Sewage or contaminated water backup
Never DIY this. Category 3 water, which includes sewage, contains pathogens that require PPE, proper disposal, and complete removal of affected porous materials. This is not a judgment on your abilities, it’s a biological fact. Sewage cleanup needs professional equipment, professional sanitation protocols, and documentation for the insurance claim. No responsible guide tells you otherwise.
The pattern for all of these: the DIY-appropriate scenarios are small, caught early, clean, and confined to surfaces you can see. The professional scenarios involve hidden cavities, ongoing sources, contaminated water, or anything that will need to be documented for a claim. If your situation has any of those four features, the decision is already made.
What Professional Moisture Logging Actually Does for You
Earlier we mentioned that we take moisture readings every day on every water restoration job and hand the full log to the homeowner when the job is done. That’s not a customer-service flourish. It’s the document that separates professional restoration from a dry-out in every way that matters.
A moisture log is a dated record of readings from multiple points in the affected area: drywall, baseboard, framing, subfloor, concrete, sometimes multiple depths into the same material. It shows the starting moisture content, the daily progression, and the final readings that establish the structure is dry by industry standard, which in most cases means below 16% moisture content in wood and below the equilibrium point for the surrounding environment. You can learn what to track in our Water Damage Restoration Maintenance Checklist for Williamsburg Homeowners.
Here’s what that log actually does for you:
- It substantiates your insurance claim. The adjuster sees that a professional documented the drying process from start to finish. That’s the difference between a claim processed on schedule and one that gets scrutinized for weeks.
- It satisfies New York Department of Health guidance for mold prevention. The DOH’s position is that moisture control must be verified, not assumed. The log is the verification.
- It protects you if you sell the house. If a buyer’s inspector two years later finds elevated moisture in that wall, you can produce the log showing it dried to standard after the event. Without it, the buyer’s assumption is that you hid a problem.
- It creates accountability for the restoration company. If mold appears in a documented-dry area, the company has a paper trail to stand behind, which is exactly what a warranty or guarantee is built on. Without the log, a future claim is your word against theirs.
- It tells you when drying is actually done, not when it feels done. This is the part DIY cannot fake. A surface can feel bone dry while the material behind it is still at 30% moisture content.
If you take nothing else from this guide, take this: the moisture log is not a nice-to-have. It’s the thing you cannot produce yourself, and it’s the thing that will matter most if anything goes wrong six months or two years from now. Which is also why it’s worth being specific about this: if a restoration company won’t show you their moisture readings, don’t hire them. That’s the bare minimum of transparency in this trade.
The Cost Question: What DIY Actually Saves (And What It Doesn’t)
The DIY pitch is almost always made on cost: “Why pay a restoration company thousands when I can rent some equipment for a few hundred?” On the surface, that math works. The problem is that it compares the cost of a proper restoration to the cost of an improper drying, and treats them as if they produce the same outcome.
Here’s what the numbers often look like in the Williamsburg area. Renting a couple of commercial fans and a dehumidifier for a week will run a few hundred dollars. Home-store purchases of drying equipment, plus repair materials, maybe $400-700. A professional restoration for a typical clean-water basement flooding event in a Williamsburg house might be $2,500-$4,500, though the scope varies widely. So the immediate delta is maybe a couple thousand dollars.
Here’s what that couple thousand figures against. A mold remediation in a wall cavity where mold went undetected through a DIY drying: $1,500-$5,000 in a typical scenario, more if it spread. A denied insurance claim because mitigation wasn’t professionally documented and the adjuster won’t cover the secondary damage: the full cost of whatever happens next, out of pocket. A failed home inspection or a negotiated price reduction when you sell and the buyer’s inspector finds evidence of past water damage without documentation: potentially tens of thousands. A health issue caused by mold in a home that was never properly dried: no price anyone wants to put a number on.
So the honest framing is this: DIY saves you a known, bounded amount today and exchanges it for an unknown, unbounded risk later. Professional restoration costs more today and caps the risk. For a homeowner in a 60-year-old Williamsburg house with a finished basement and an insurance policy that requires professional mitigation, the decision is often mathematically straightforward even before you factor in the peace of mind.
Now, a few things worth knowing about how we do it, because this guide is also honest about who’s writing it. Wade Ferris founded Wade’s Restoration in 2007, he answers his own phone, and he publishes his name, address, and license number. Every water, fire, and mold restoration job we do comes with the 90-Day Done Right Promise in writing: if it’s not done right, he comes back and makes it right. We also offer a free second opinion on any written estimate, no trip charge in our county, a Senior & Veteran 10% discount that’s permanent, and $40 off any repair over $200. Those aren’t promotions, they’re how the business has run for over 18 years.
Common Mistakes to Avoid
- Waiting to dry it because “it’ll dry on its own.” It won’t. Not in a Williamsburg summer, not in a closed-up house, not behind a baseboard. The mold clock starts when the water lands, not when you get around to it.
- Using a home dehumidifier and assuming it’s enough. A home dehumidifier conditions the air in a room. It does not pull water out of wall cavities, subflooring, or concrete. Those materials need either forced-air injection or opening and replacement.
- Failing to document before moving anything. If you throw out wet carpet and rip out drywall before taking photos, you’ve destroyed the evidence your insurance company needs. Photograph everything first, from every angle, before you touch anything.
- Believing the surface feel test. Surface dryness means nothing. Drywall can feel dry to the touch at 25% moisture content, and that’s a mold problem waiting to happen. You cannot assess structural dryness with your hand.
- Replacing drywall before the framing behind it is verified dry. If you seal damp framing inside a new wall, you’ve just built a mold incubator with a nicer exterior. This is one of the most common DIY mistakes we see in Williamsburg homes, and it’s expensive to fix because it usually means tearing out the new work.
- Treating sewage backup like clean water. If the water came from a drain line, a toilet backup, or outside flooding, it’s contaminated. That’s a hard category difference, not a degree of cleanliness. DIY sewage cleanup is a health risk and a liability risk.
- Assuming the insurance company will accept your word. They won’t. Your word is not documentation. If the claim depends on proving the home was properly dried, you need the readings, the log, and the professional record.
Frequently Asked Questions
Yes, if the water is clean, the volume is under about 10 gallons, it’s confined to a surface you can see, and you catch it within the first hour. Everything beyond that, including any water that touched drywall, flooring, or wall cavities, requires professional equipment and documentation to dry properly. If you have any doubt about the scope, call us at (363) 666-2319 and Wade will tell you straight whether it’s a DIY job or not, no charge for the conversation.
In Williamsburg’s summer humidity, mold can begin colonizing within 24 to 48 hours of water intrusion, especially inside wall cavities and under flooring where the air is still and warm. In older Williamsburg homes with plaster walls and limited airflow, the effective window can be even shorter. That’s why professional restoration starts the same day the call comes in, not days later.
Most New York homeowners insurance policies require professional mitigation and documentation for full coverage, and a DIY drying that later leads to mold is a common reason for claim denial. Your policy likely expects you to mitigate the damage reasonably, and “reasonably” in adjuster practice means professionally. If you’re not sure what your policy requires, we can help you read it and deal with your adjuster directly.
Use four filters: water source (clean, contained leak vs. sewage or ongoing seepage), volume (under vs. over 10 gallons or any standing water beyond surface), location (surface-only vs. any wall, ceiling, or flooring penetration), and time (caught instantly vs. been sitting for hours). If any one of those four pushes toward the professional side, it’s professional work. We offer a free second opinion on any written estimate, so you can always get a second look.
A moisture log is a dated record of moisture readings taken with professional instruments from multiple points in the affected area. It proves the structure was dried to industry standard, which substantiates insurance claims, satisfies New York Department of Health mold prevention guidance, and protects you if a future buyer’s inspection raises questions. We hand every homeowner their complete moisture log at the end of every water restoration job, and if a contractor won’t show you theirs, that’s a red flag.
A typical clean-water basement flooding event in a Williamsburg home runs $2,500-$4,500 for professional restoration, though larger scopes with significant drywall removal or contaminated water run higher. DIY equipment rental might cost $300-700, but it doesn’t include the documentation, verification, and accountability that the professional price covers. We offer free estimates, a senior and veteran 10% discount, and no trip charge in our county, so it costs nothing to get an exact number. Call (363) 666-2319.
When to Call a Professional
Call a professional if the water touched drywall, flooring, or wall cavities. Call a professional if the source was sewage, groundwater, or anything that had been sitting for more than a few hours. Call a professional if there’s any chance you’ll file an insurance claim, because the documentation is the claim. Call a professional if you’ve already tried DIY drying and something doesn’t smell right or feel right, because by that point the mold clock has been running for days. Mold Remediation in Williamsburg works best when it’s small and caught early, and every day of delay makes it larger. For fire and smoke damage, the professional threshold is even lower: soot is acidic, corrosive, and gets into HVAC systems and wall cavities in ways that are invisible for months. Fire & Smoke Damage Restoration in Williamsburg is not a DIY job under any circumstances. Wade’s Restoration offers free estimates in Williamsburg, answers the phone 24 hours a day, and Wade Ferris will be the one on the other end of the line. Call (363) 666-2319.
The Bottom Line
DIY damage restoration is genuinely appropriate for the narrow sliver of cases where the water is clean, small, caught instantly, and confined to visible surfaces. Every other scenario belongs to professionals, not because homeowners lack effort or intelligence, but because the work requires equipment, documentation, and accountability that you can’t rent or fake. In Williamsburg specifically, the summer humidity compresses the mold timeline to 24-48 hours, and the age of many local homes means water travels and absorbs into materials in ways a surface-level drying can’t reach. The split isn’t about pride, it’s about physics and paperwork. If you’re not sure which side of the line you’re on, call. Wade will tell you straight, whether that means hiring us or doing it yourself. He answers his own phone at (363) 666-2319.
Written by Wade Ferris, Owner at Wade’s Restoration, serving Williamsburg since 2007.